Hello! I’m the creator of ‘Paju Paradise,’ living with my six big dogs in the beautiful countryside of Paju, South Korea.
Today, I’m sharing my journey of building my own pizza oven, which was #1 on my bucket list. From initial failure to full completion, would you like to see the DIY process and my life-changing pizza recipe?
1. My First Failure: Why Perlite and Cement Aren't Enough
The disastrous results of my first failure.

Initially, I followed simple YouTube tutorials using only perlite and cement. However, this method lacked durability and heat retention. The dome structure often collapsed during construction, and the final result was a complete disaster.
💡 Pro Tip: Even for a lighthearted DIY project, choosing the right base materials is the most important factor because a pizza oven must withstand extreme heat.
2. The Secret Ingredient: Fire Bricks
Fire Bricks

Learning from my failure, I completely changed the materials for my second attempt. My choice was 'Fire Bricks'.
- Importance of Fire Bricks: They play a vital role in withstanding extreme temperatures inside the oven and effectively storing heat.
- Sourcing Materials: Instead of regular bricks, you must use professional refractory materials that are resistant to high heat. This ensures long-term use without any cracking or structural issues over time.
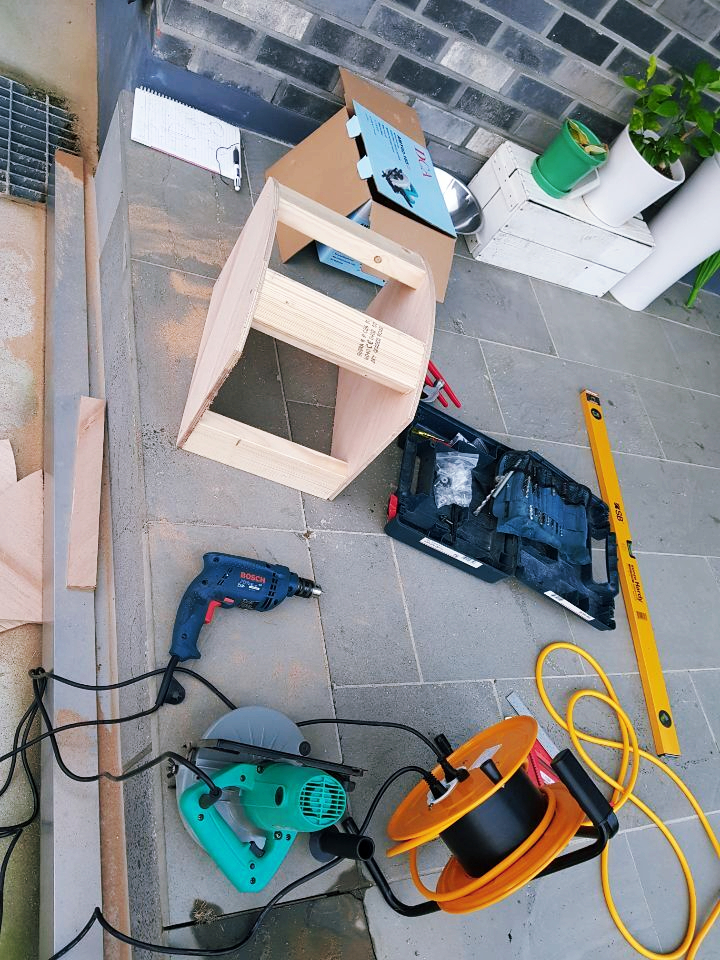
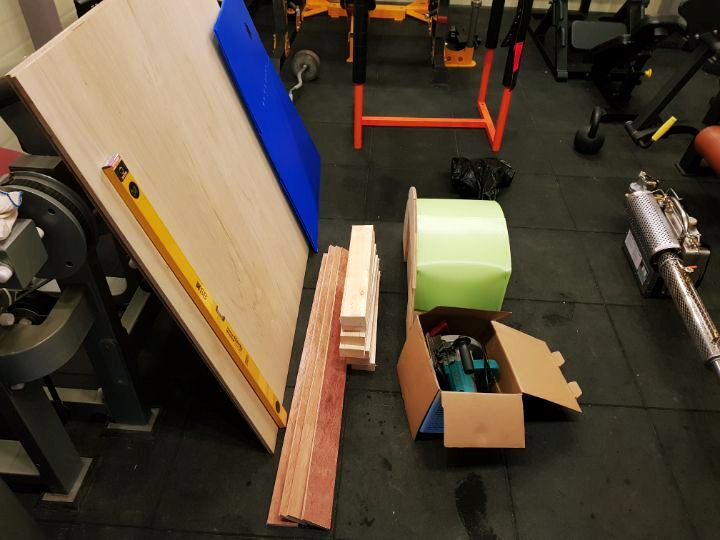
3. A Month of Struggle: 4 Stages of Pizza Oven Construction
Stage 1: Foundation and Precise Leveling
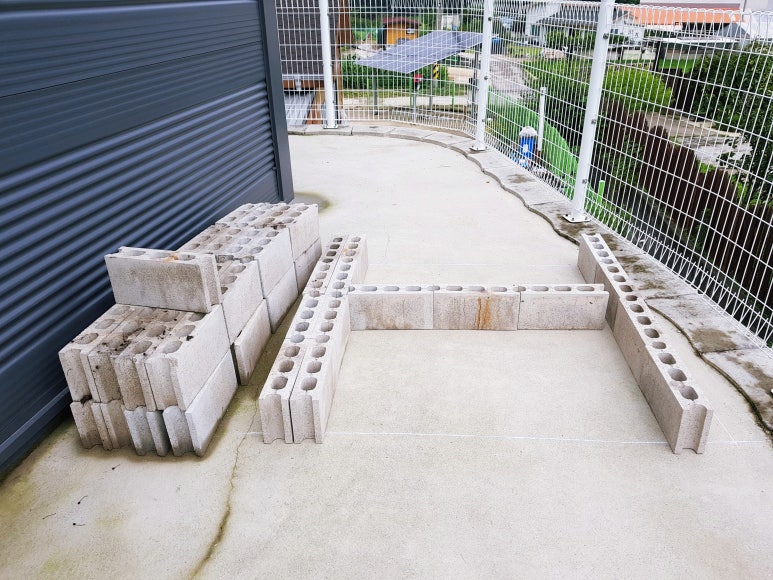
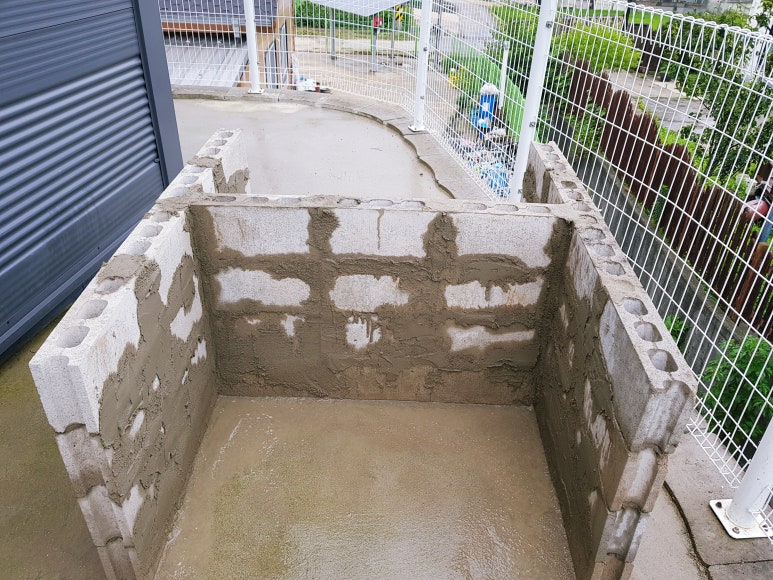
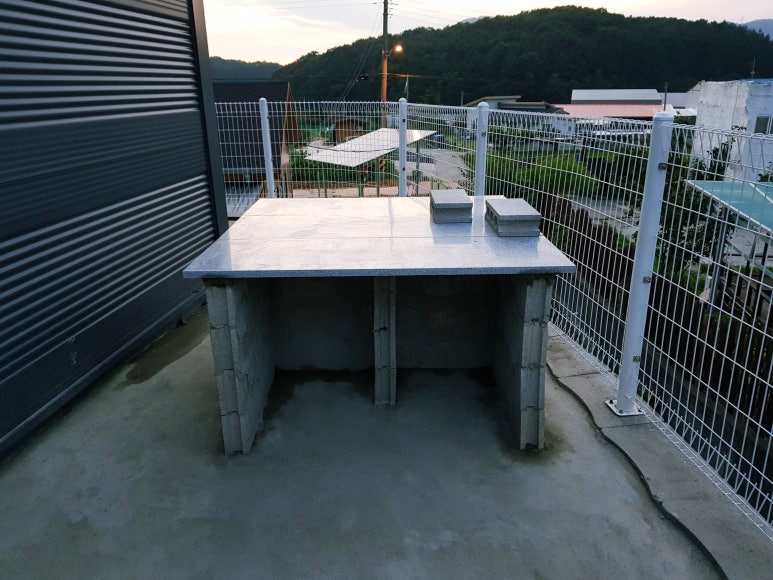
Because the oven is extremely heavy, it must have a sturdy foundation. I used a spirit level to ensure the base was perfectly flat with zero margin for error. If the foundation is off-balance, the entire structure could collapse later when stacking the dome bricks.
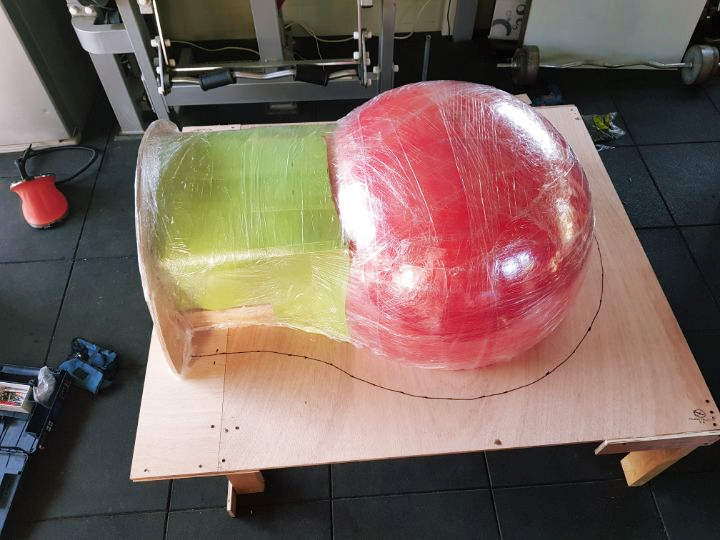
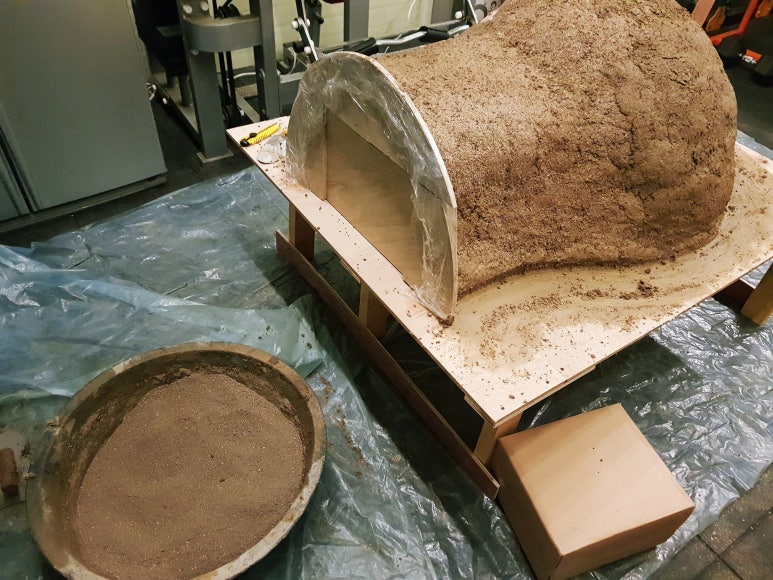
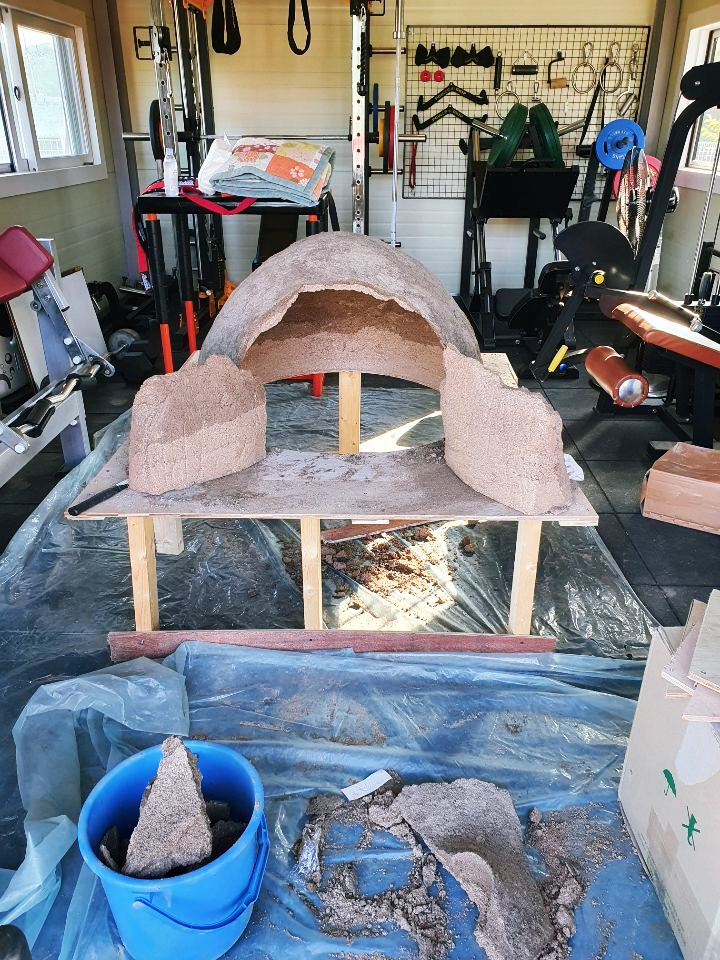
Stage 2: Building the Arch and Dome. I meticulously cut each fire brick individually to shape the arched entrance and the dome structure.
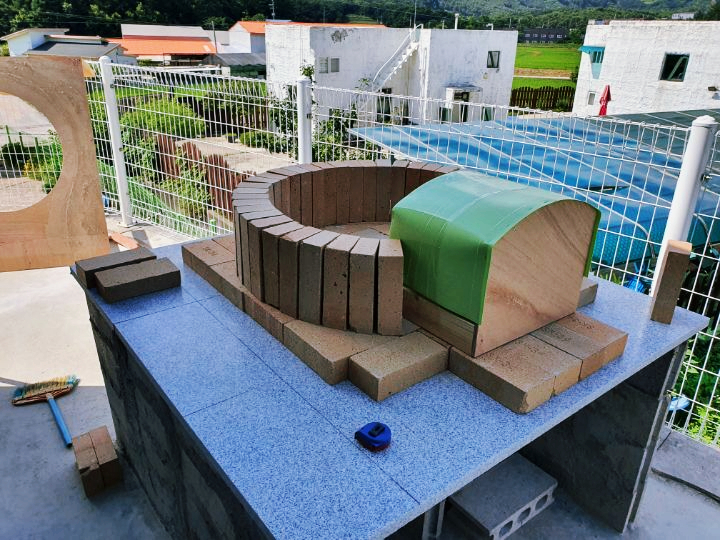

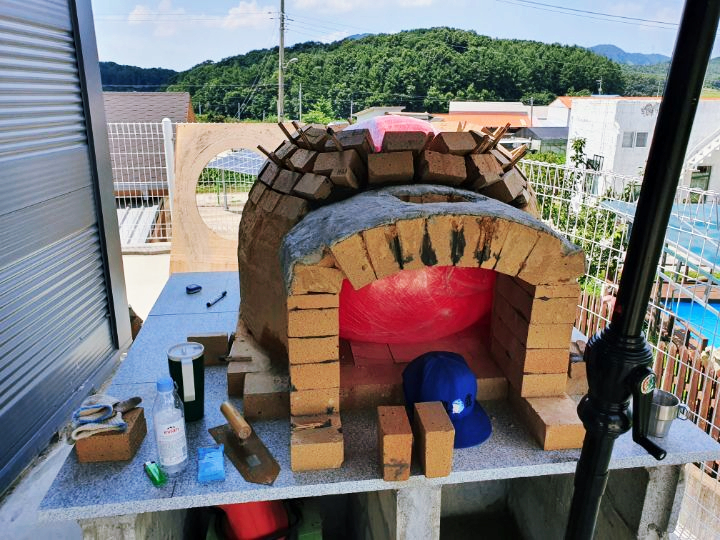
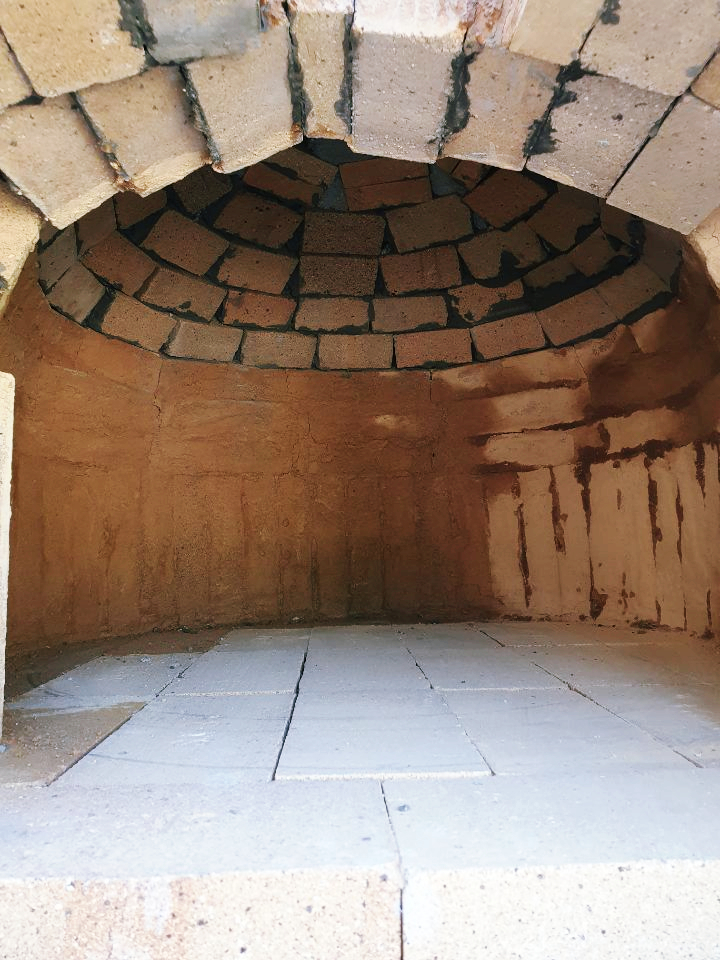
This was the most grueling part, as I spent 2 to 3 hours every night after work for an entire month. Stacking each brick while keeping it perfectly level was a true test of patience, but the sense of accomplishment as the structure finally took shape was indescribable.
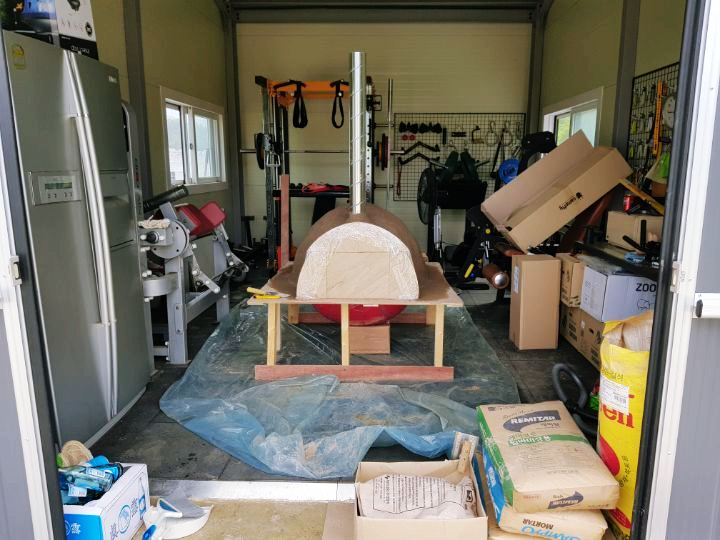
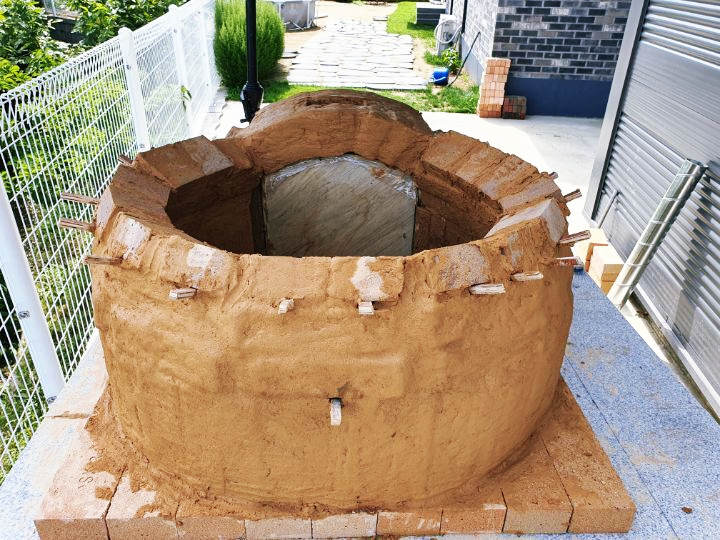
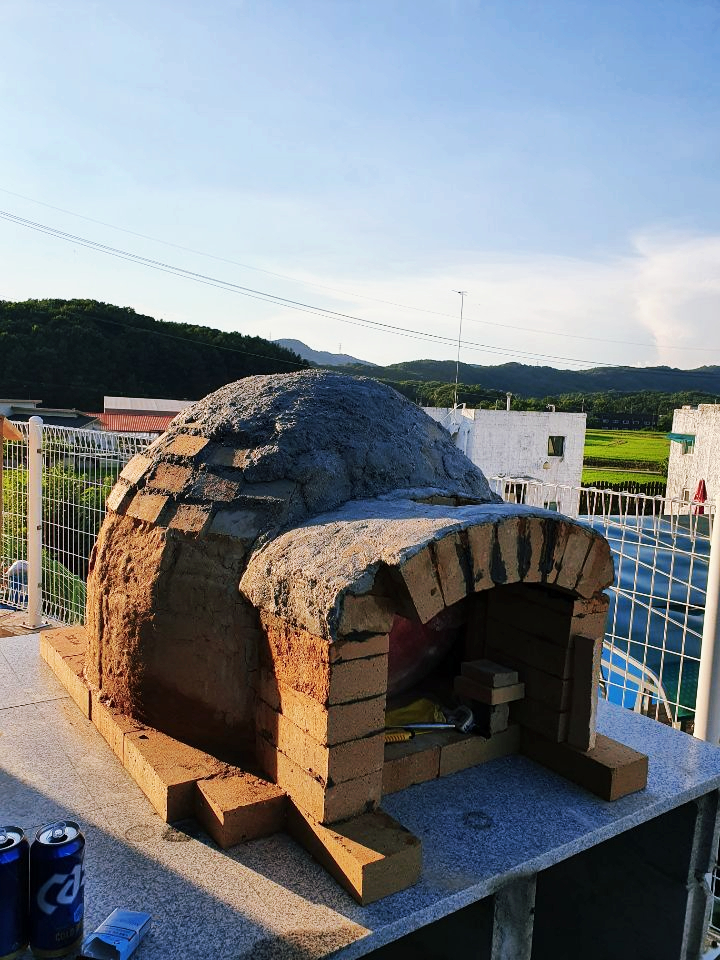
Stage 3: Insulation (Ceramic Fiber) and Exterior Construction
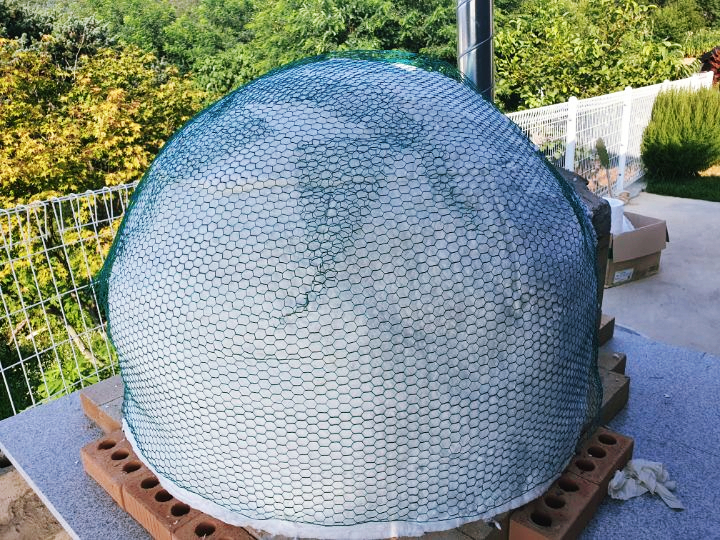
Heat retention is the "soul" of a pizza oven. To prevent heat loss, (ceramic fiber insulation)**was** meticulously wrapped around the dome, followed by a wire mesh for the cement finish. This ensures the exterior remains safe even at 400°C.
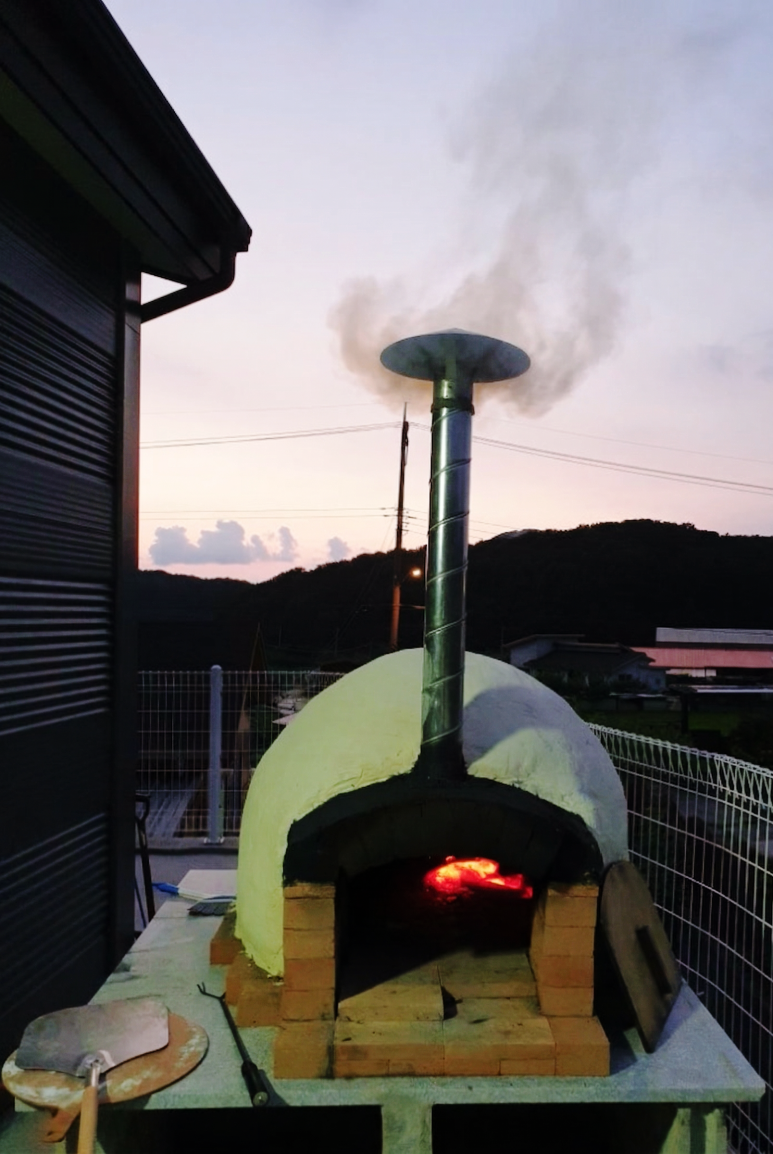
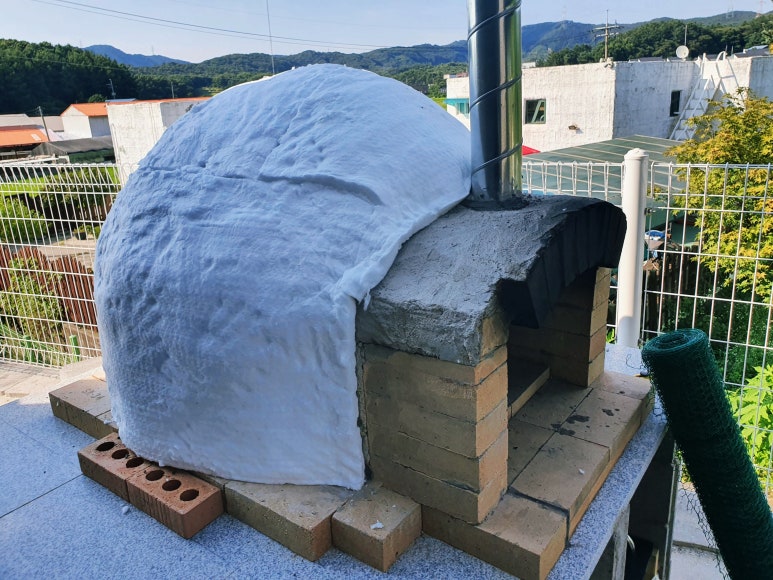
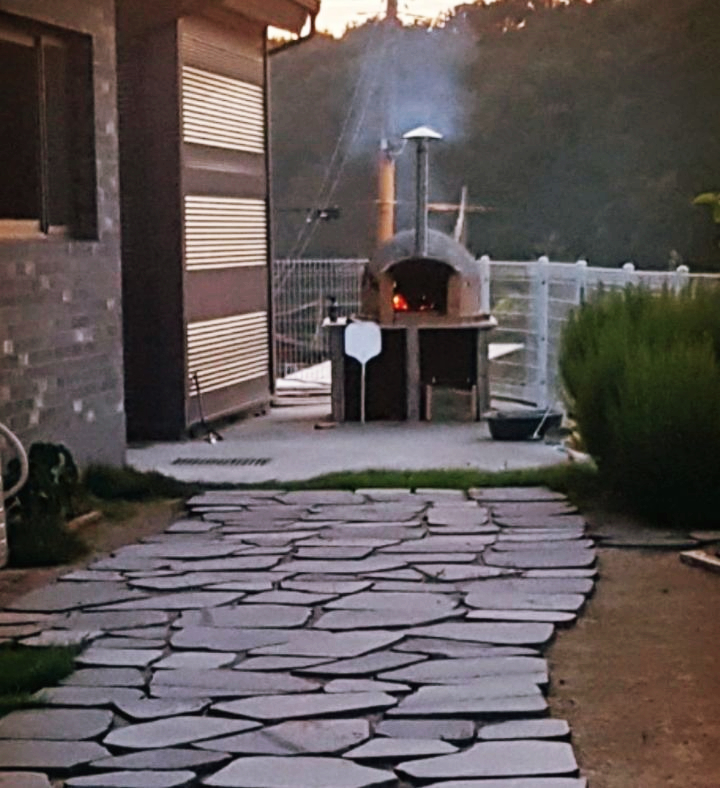
Stage 4: Finishing with Heat-Resistant Paint and Chimney Installation
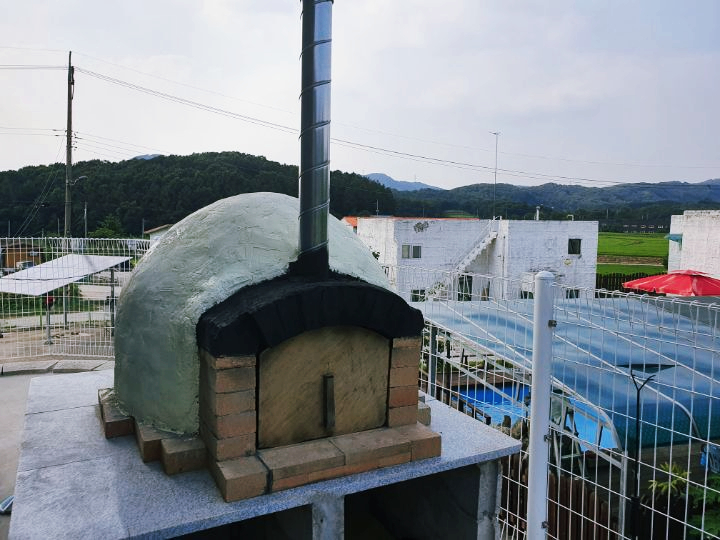

Design is just as important as functionality. To match the atmosphere of my backyard, I finished the exterior with white heat-resistant paint for a clean look and installed the chimney.
4. Performance Test: Life-Changing Scones and Authentic Neapolitan Pizza
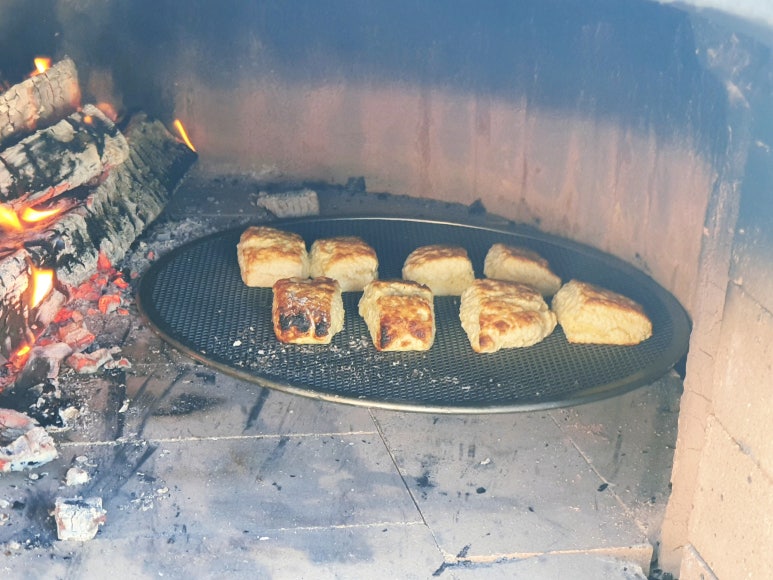
The grand opening! The first creation was surprisingly sconesInfused with the subtle aroma of wood fire, these scones offered a deep flavor that a conventional oven could never replicate.
World-renowned pizza master Vito Iacopelli authentic Poolish recipe.
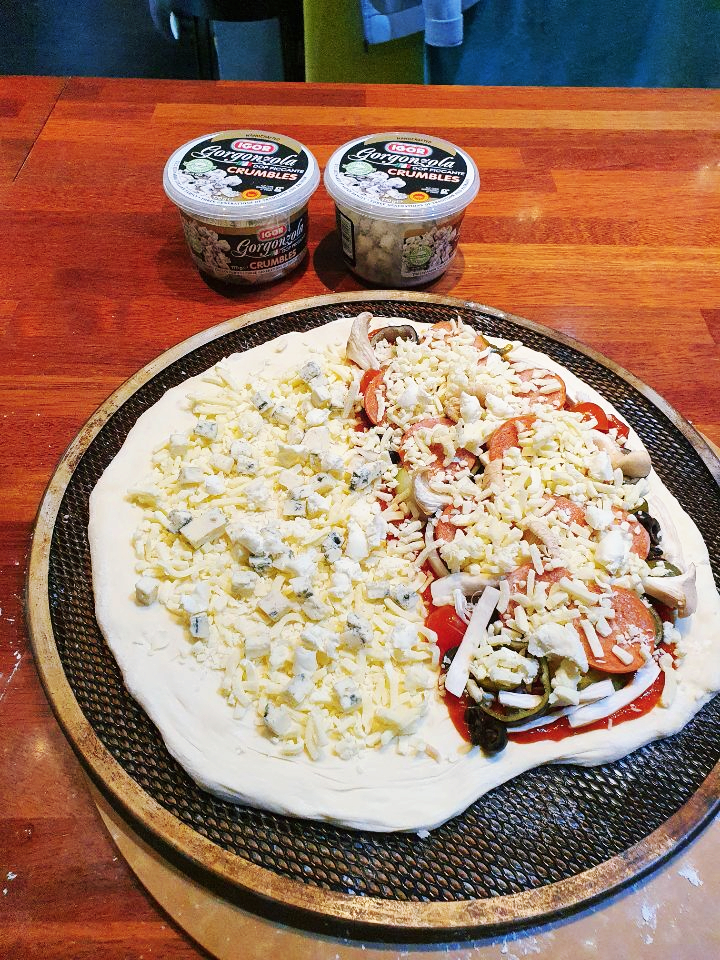
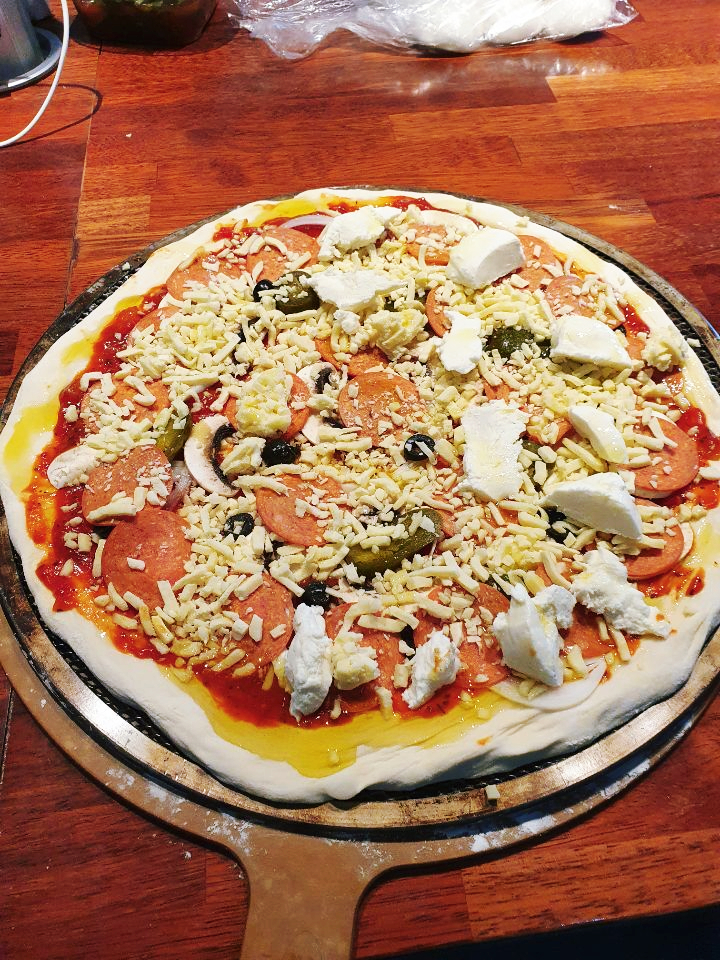
For the real star of the show—the pizza—I prepared the dough using the recipe from global pizza master Vito Iacopelli.
[1. Poolish Starter (For cold fermentation)]
- Water: 300ml / Flour (00): 300g / Dry Yeast: 5g / Honey: 5g
[2. Main Dough]
- All of the Poolish starter above / Water: 700ml / Flour: 1250g / Salt: 40g
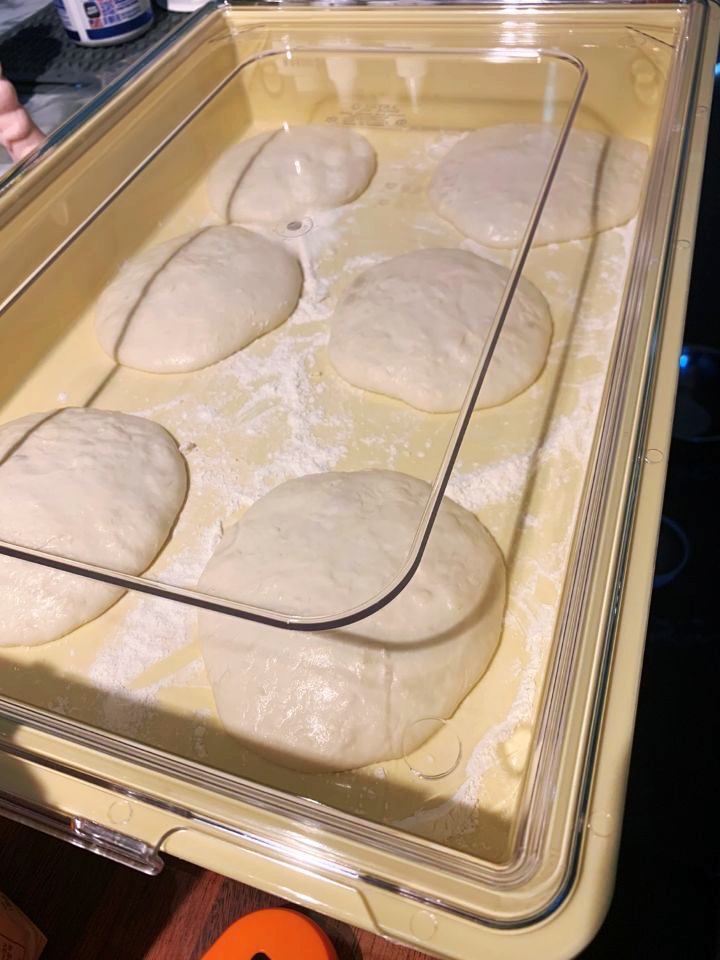
The beautiful dough during fermentation
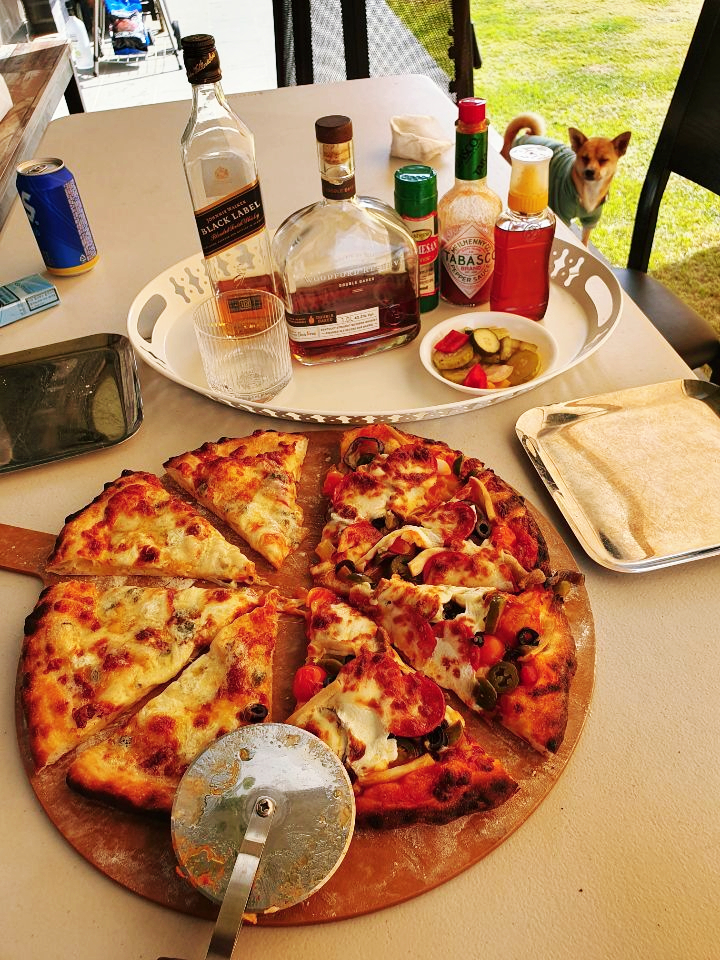
5. The Ultimate Backyard Pizza Party
The Final Masterpiece: The Completed Pizza and Our Backyard Haven
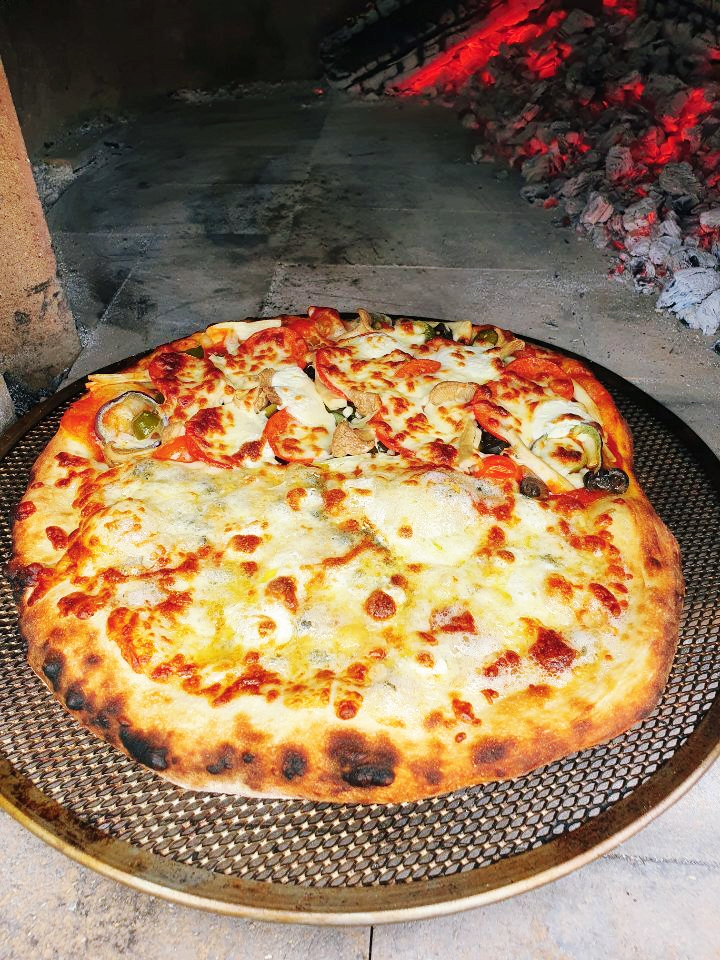
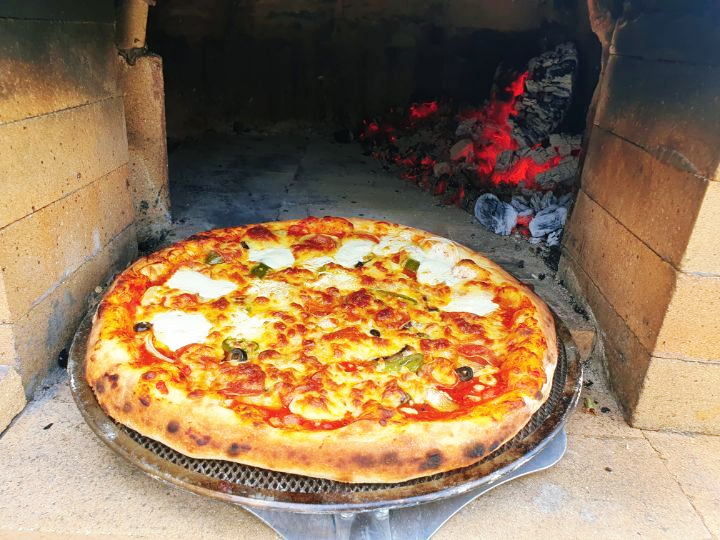
The sight of a freshly baked pizza from my handmade oven was spectacular. It was crunchy on the outside and moist on the inside—literally the best pizza of my life. It was the moment the dream I had 6 years ago, when moving from Bucheon to Paju, finally became a reality.
This oven will now be the heart of happy parties for my family and our six dogs. It was a challenge that seemed reckless, but it was a precious time that reminded me once again that "I can do it."
Advice for those considering building their own DIY pizza oven
- Invest in materials: Fire bricks and high-quality insulation are absolute musts.
- Leveling is everything: Be meticulous about leveling the foundation from the very beginning.
- Be patient: It might take a month, but the result will bring a lifetime of happiness. While running this blog, I have summarized the key details for those who are curious about building a pizza oven.
I have summarized some of the most frequently asked questions about building a pizza oven for those who are curious about the process.
Q&A: Firebricks vs. Regular Bricks Q: Can I use regular bricks instead of firebricks? A: I strongly advise against it. Regular bricks can expand under high temperatures, eventually cracking or shattering. For safety and durability, using firebricks and refractory cement is essential.
Q&A: The Most Difficult Process Q: What was the most challenging part of the build? A: Constructing the arched entrance and the dome. Cutting each brick to the right angle and ensuring they were perfectly level took the most time. However, this process is what allows the heat to circulate properly in a well-built pizza oven.
Q&A: Internal Temperature Q: How high does the internal temperature go? A: It varies depending on the amount of firewood, but 400°C to 450°C is ideal for baking authentic Neapolitan pizza. Thanks to the thorough insulation, the interior stays hot while the exterior remains safe to touch.
Closing Thoughts on the Project Final Thoughts: Completing the Dream of Country Life
This DIY pizza oven project was more than just a build; it was a precious experience that has enriched our life here in Paju.
Having experienced failure with the initial perlite method, I truly realized the importance of firebricks during my second attempt. I hope this comprehensive guide, born from my own trial and error, helps anyone dreaming of their own backyard oven. The joy of sharing freshly baked pizza from an oven you built yourself with family and our six dogs is a reward worth all the hard work.
In South Korea, where apartment living is the norm, a backyard pizza oven is something most people wouldn't even imagine. I decided to take on this challenge as a personal project after moving to my own house, so please use my journey as a reference only..
If this post was helpful, please subscribe and leave a comment! In my next post, I will introduce the real stars of our home—our six big dogs—one by one.