
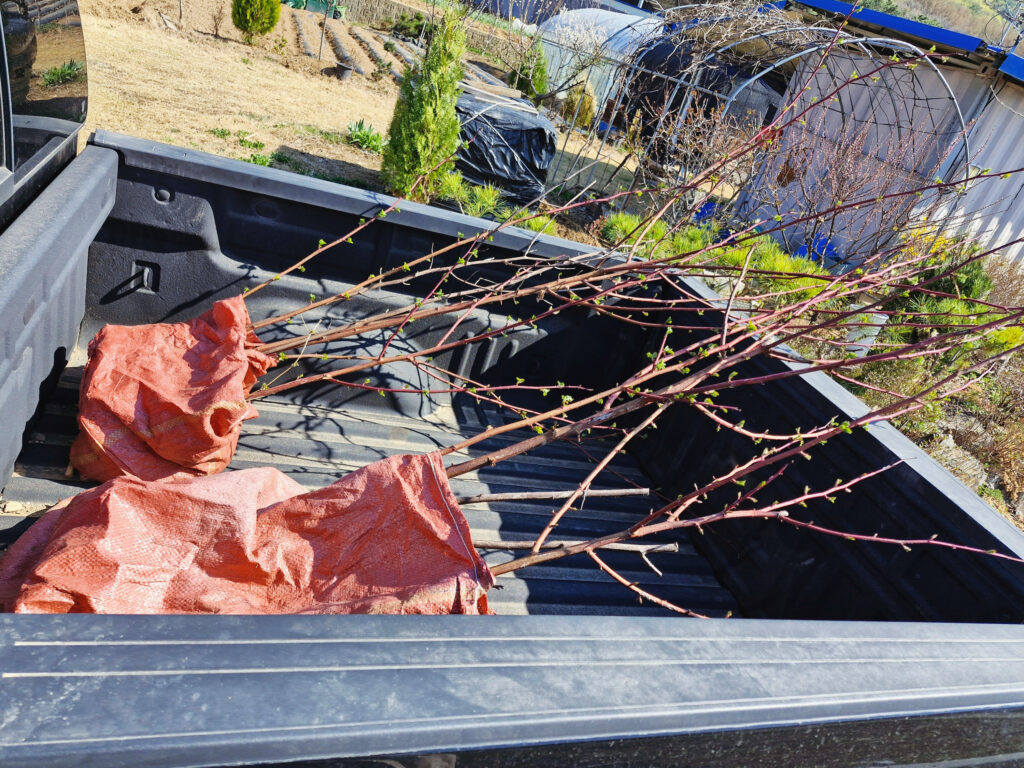
Spring is the season of movement for every gardener. There’s an irresistible urge to add “just one more plant” to the yard. Recently, I scored an incredible deal on 3-year-old raspberry canes for about $4 each (5,000 KRW) through a local marketplace.
In this post, I’ll share the essential steps for planting raspberries and tips on how to ensure a successful harvest in your home garden.
1. Why Choose 3-Year-Old Raspberry Canes?
For those curious about the nutritional profile of these berries, [Wikipedia has a great breakdown of Raspberry benefits]
When buying berry plants, the age of the stock matters. While 1-year-old seedlings are cheaper, they require a lot of patience.
- Immediate Harvest: 3-year-old canes already have established root systems. This means you can often expect fruit within the first year of planting.
- Hardiness: They are much more resilient to weather changes compared to younger, fragile shoots.
- Cost-Efficiency: Usually, established canes of this size go for 3 to 4 times the price I paid. If you find a deal on mature stocks, take it!
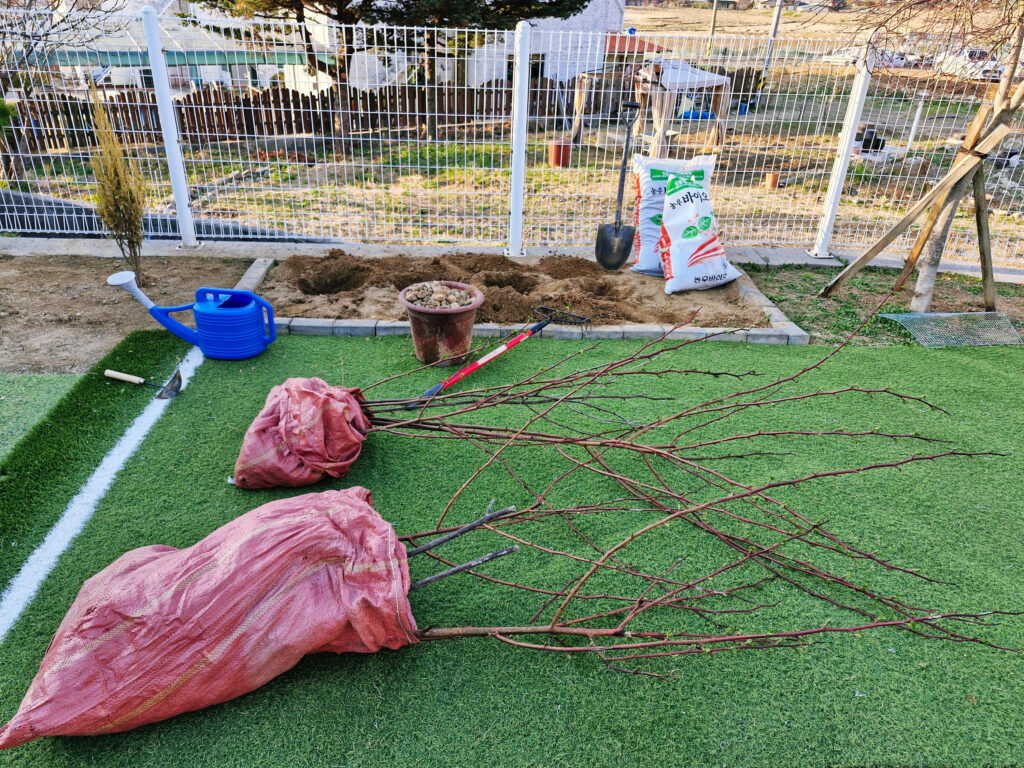
2. Step-by-Step Guide: How to Plant Raspberries
Raspberries are hardy plants, but the way you set them up during the initial planting determines their lifelong productivity.
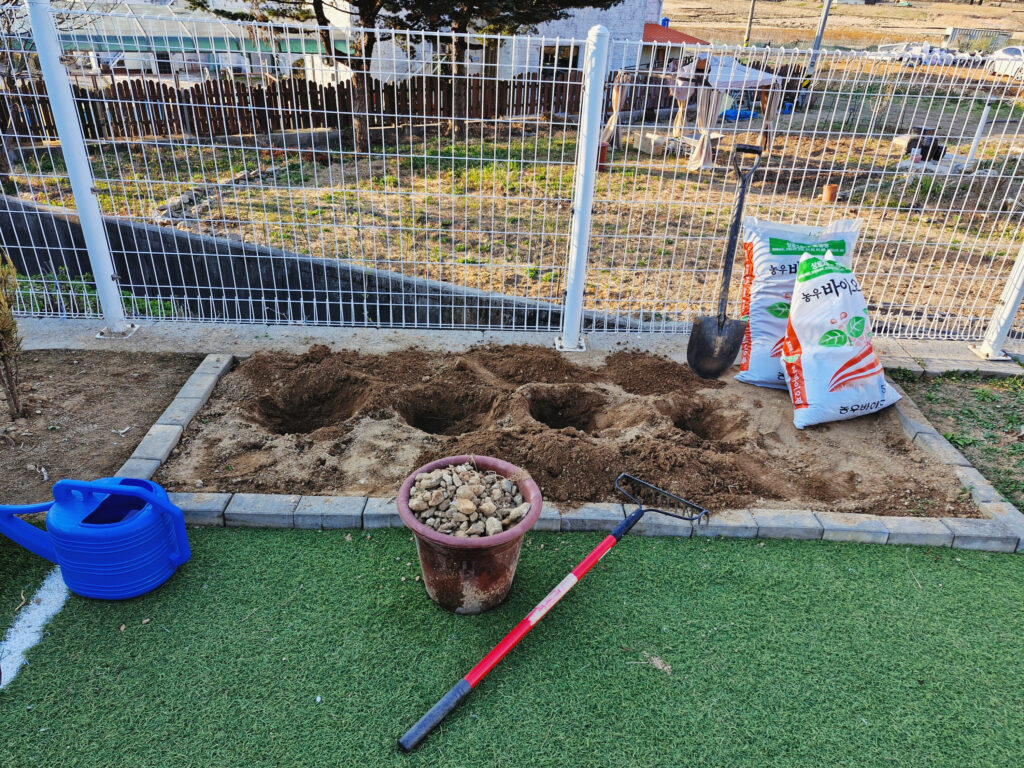
Step 1: Digging the Right Hole for Raspberries
Don’t just dig a hole the size of the pot. Dig a pit at least twice as wide and deep as the root ball. This loosens the surrounding soil, allowing new roots to spread effortlessly.
Step 2: Prioritize Drainage for Raspberry Roots
Raspberries hate “wet feet.” If water stays stagnant, the roots will rot quickly.
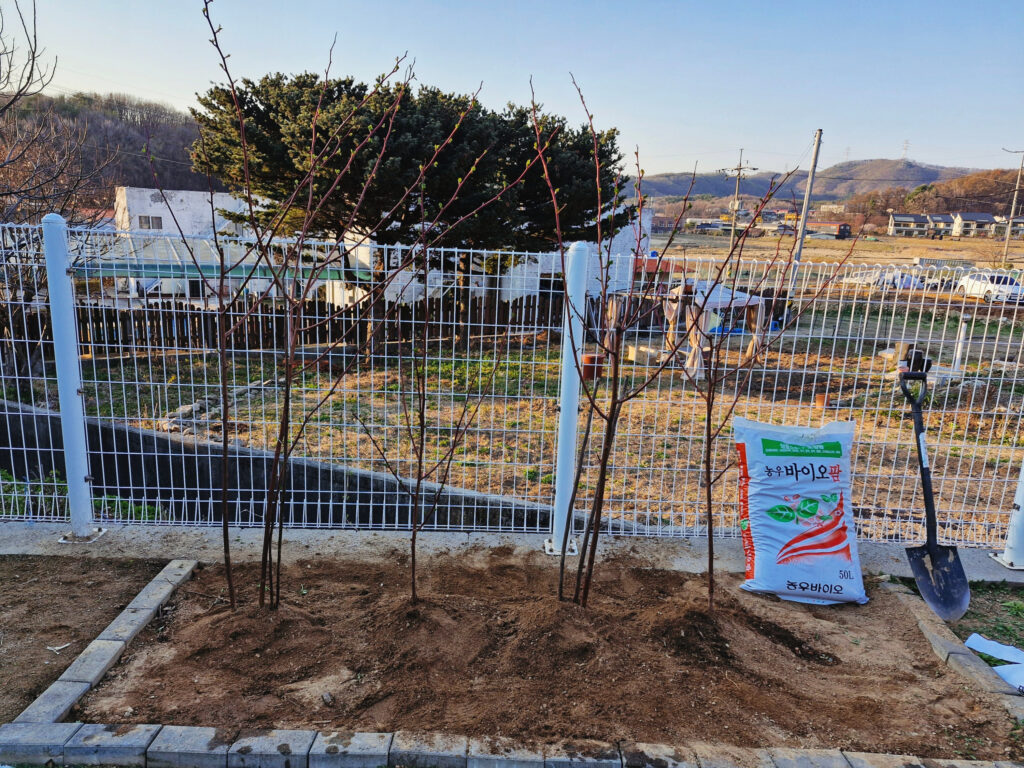
- Pro Tip: Mix high-quality potting soil with coarse sand (or Masato) to improve aeration and drainage. I personally used a premium 50L soil mix to give them the best start.
Step 3: Proper Spacing is Key
Raspberries are runners; they love to spread.
- Maintain a distance of 20 to 28 inches (50–70cm) between each plant.
- Crowded plants lead to poor air circulation and increased risk of fungal diseases.
Step 4: The “Goldilocks” Depth
One common mistake is planting too deep. You should plant the cane at the same depth it was previously growing. If you bury it too deep, the crown might rot; too shallow, and the roots will dry out.

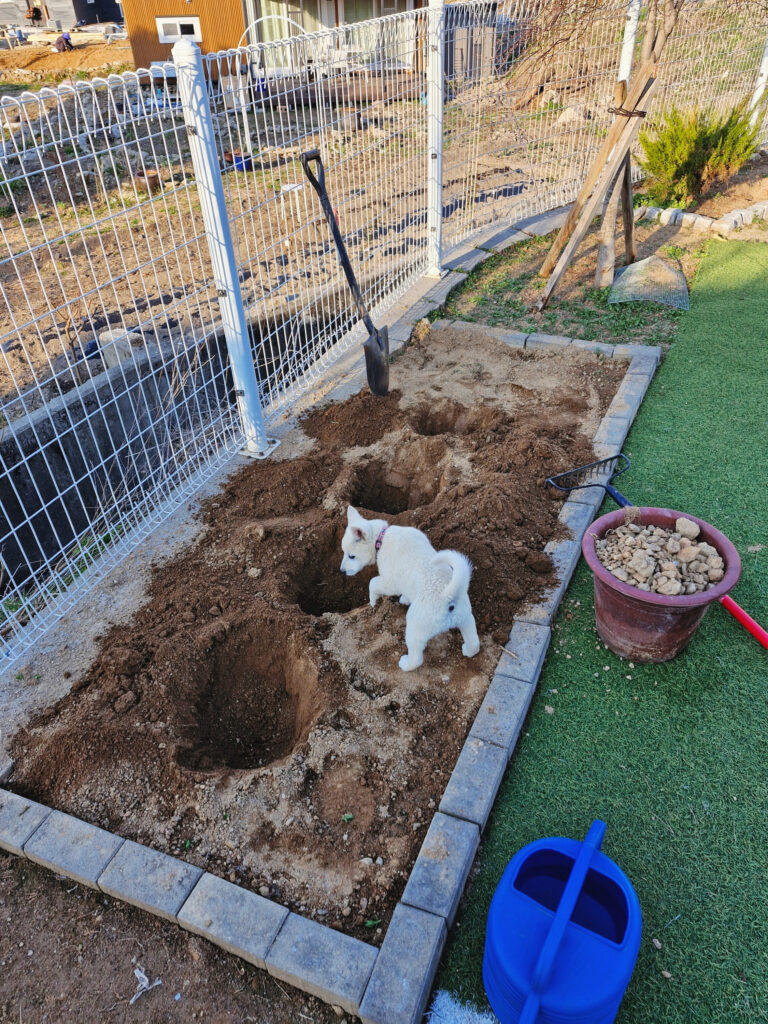
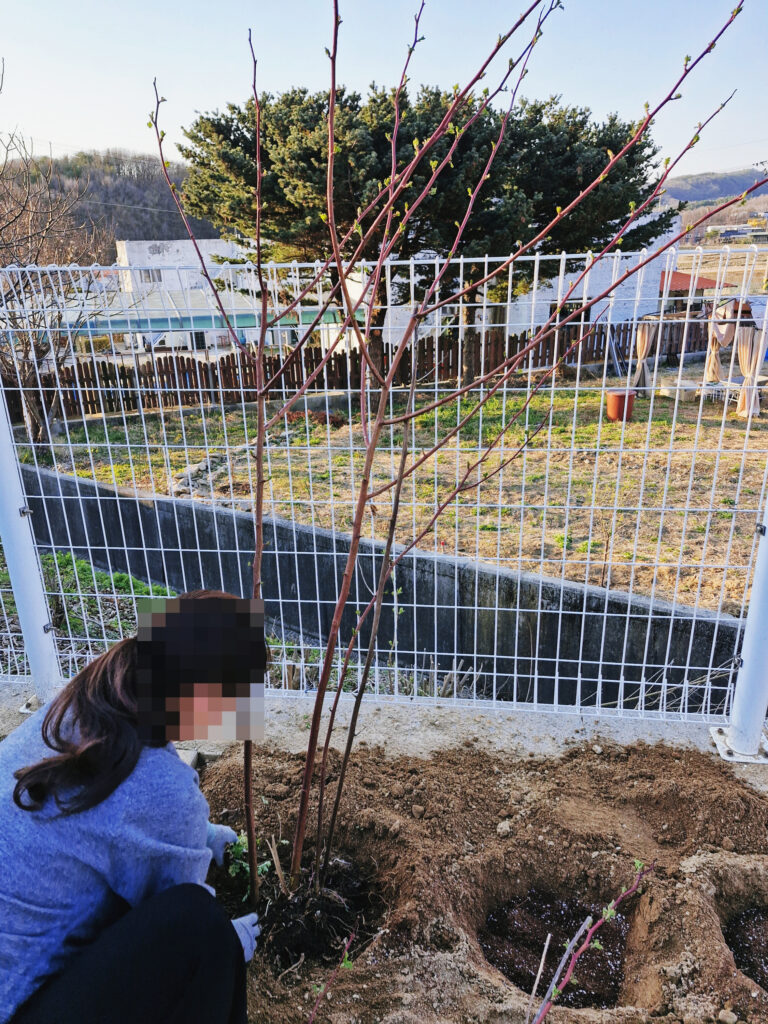
3. Life in the Garden: Unexpected Challenges
Gardening is rarely a solo activity when you have pets. While planting a few canes at my parents’ house, their new puppy decided to “help.”
Every time I dug a hole, the puppy was right there inspecting my work. Every time I covered the roots with soil, he tried to dig them back up! It slowed down the process, but these moments are exactly why we enjoy the rural, detached-house lifestyle.
4. Maintenance and Expectations
One thing to remember: Raspberries have thorns. Wear sturdy gloves during planting and pruning. Despite the prickly nature, the reward of picking fresh, sun-warmed berries from your own backyard far outweighs the minor scratches.
Quick Checklist for Success:
- Sunlight: At least 6–8 hours of full sun.
- Watering: Consistent moisture, especially during the flowering stage.
- Support: As they grow, consider installing a simple trellis or fence to keep the canes upright.
FAQ about Planting Raspberries
- Q: When is the best time to plant?
- A: Early spring is ideal for established canes to take root.
- Q: Do raspberries need a lot of sun?
- A: Yes, they thrive in at least 6-8 hours of direct sunlight.
Conclusion
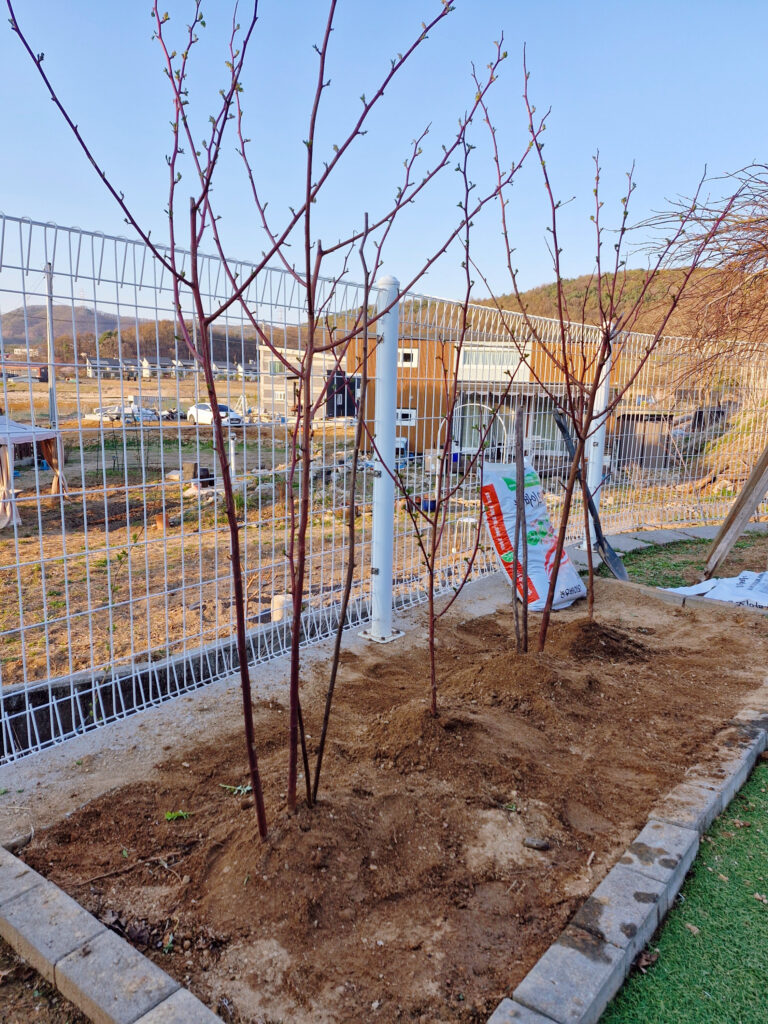
Planting raspberries is one of the most rewarding “investments” you can make for your garden. With six new canes now settled in my yard and my parents’, I’m eagerly looking forward to the summer harvest.
Are you planning to add berries to your garden this year? Let me know your favorite varieties in the comments below!
I hope this guide helps you start your own berry garden. Growing your own food is a truly rewarding experience for any homeowner.
Also, if you’re interested in more backyard DIY projects, don’t forget to check out my custom-built Italian-stylepizza oven! There’s nothing like enjoying a wood-fired pizza right next to your growing garden.