Introduction
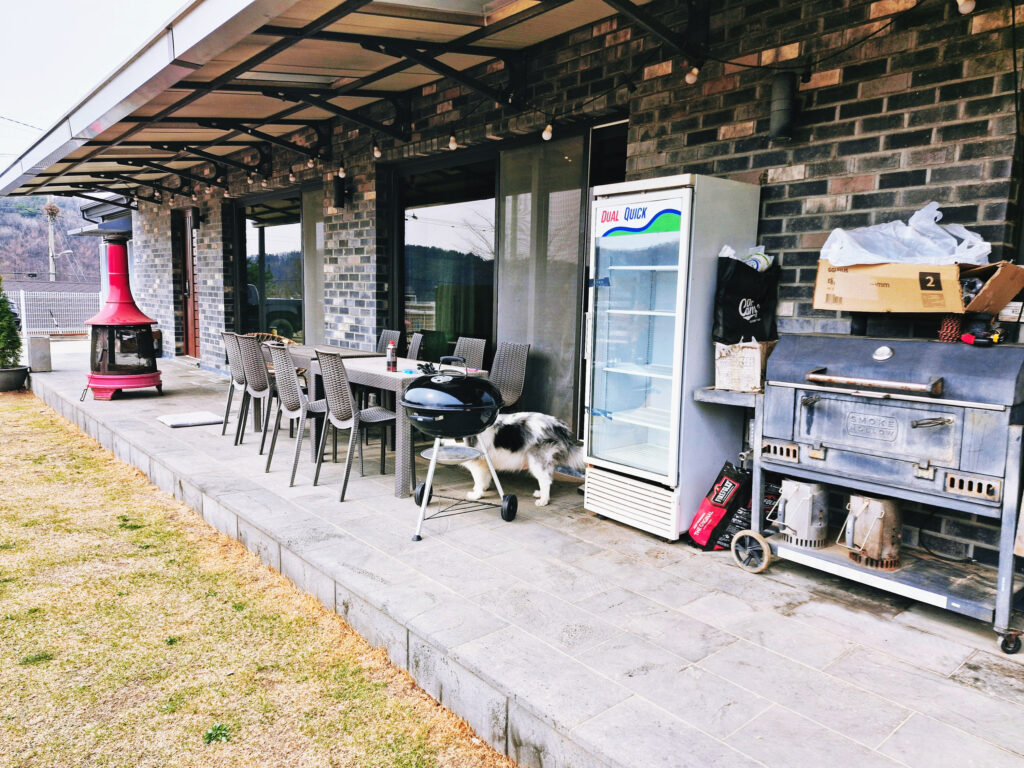
Authentic Dak-galbi Recipe**: If you’re looking for an authentic way to make Dak-galbi, you’ve come to the right place. There is nothing like a backyard BBQ on a sunny spring day. Today, I am sharing my personal recipe for Spicy Charcoal Grilled Chicken, inspired by the famous Chuncheon-style Dak-galbi. This isn’t just another restaurant recipe; this is how a local Korean enjoys a weekend feast in Paju.
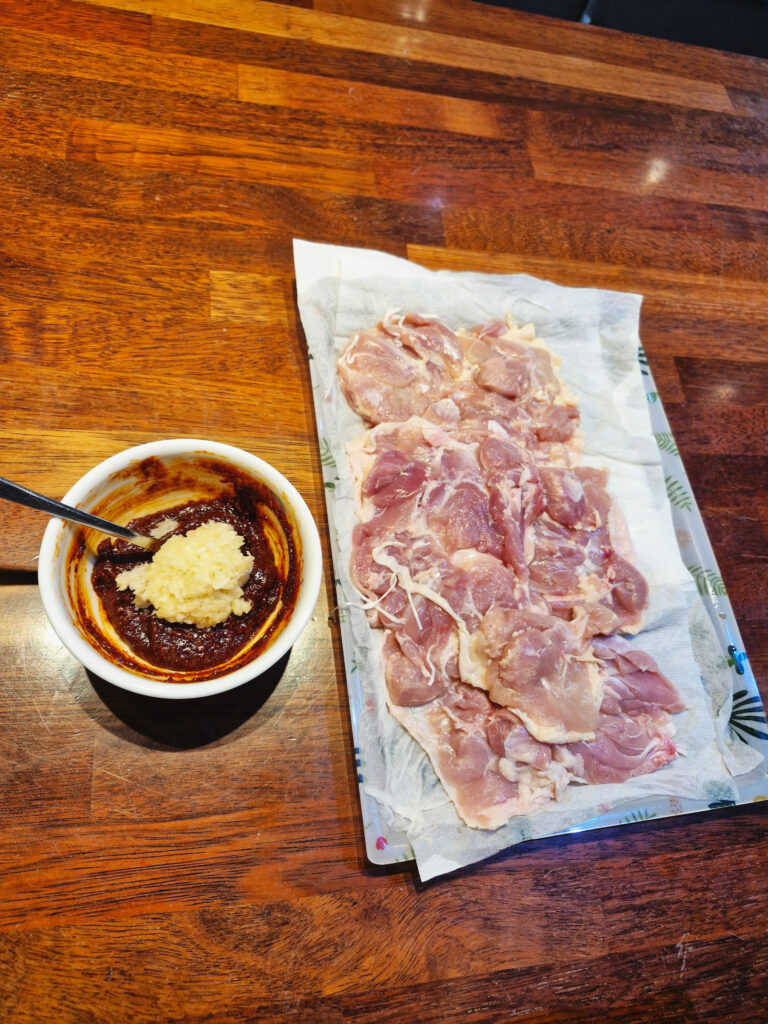
1. The Key Ingredient for Authentic Dak-galbi Recipe: Chicken Thighs
For the best texture, always use boneless chicken thighs. They stay juicy and tender even over the high heat of charcoal, unlike chicken breasts which can get dry.
- Amount: 700g (Approx. 1.5 lbs)
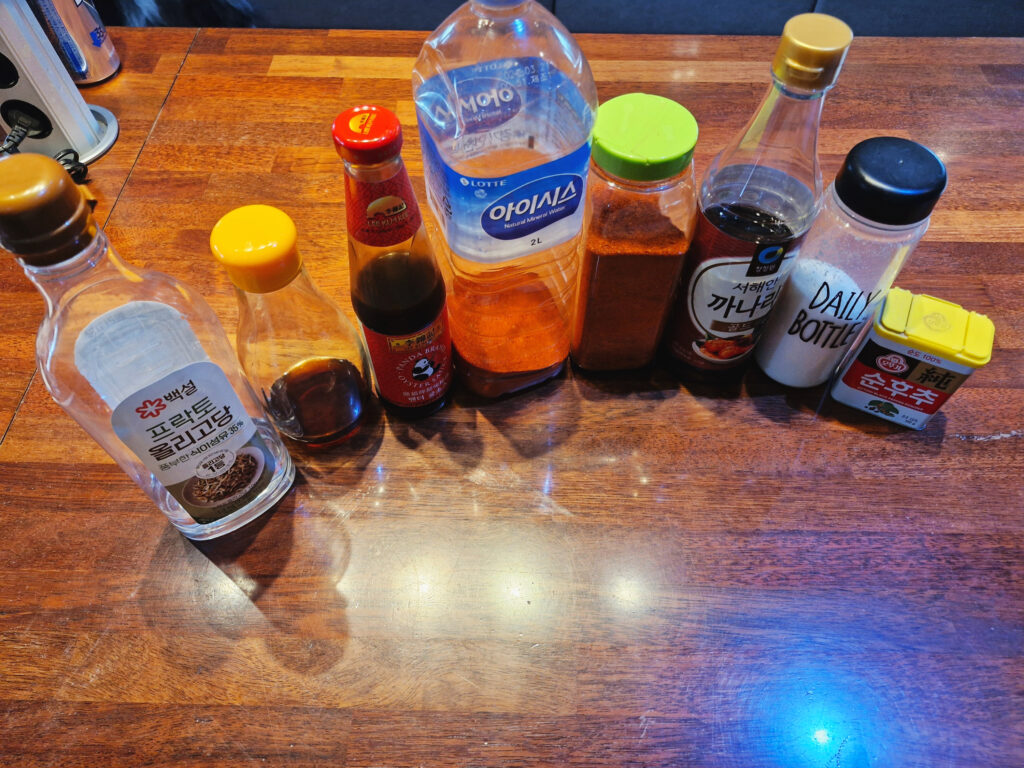
2. The Secret Spicy Marinade (The “Paju Paradise” Blend):
The balance of spicy, sweet, and savory is crucial. Here is my personal ratio:
- Spiciness: 2 tbsp Regular Korean Chili Powder (Gochugaru) + 3 tbsp Spicy Chili Powder
- Sweetness: 2 tbsp Sugar + 3 tbsp Corn Syrup (or Honey)
- Umami: 2 tbsp Oyster Sauce + 1 tbsp Fish Sauce
- Aromatics: 1 tbsp Minced Garlic, a pinch of Black Pepper
- The Pro Touch: 2 tbsp Cooking Oil + 1 tbsp Liquid Umami Essence (e.g., ‘Yondu’)
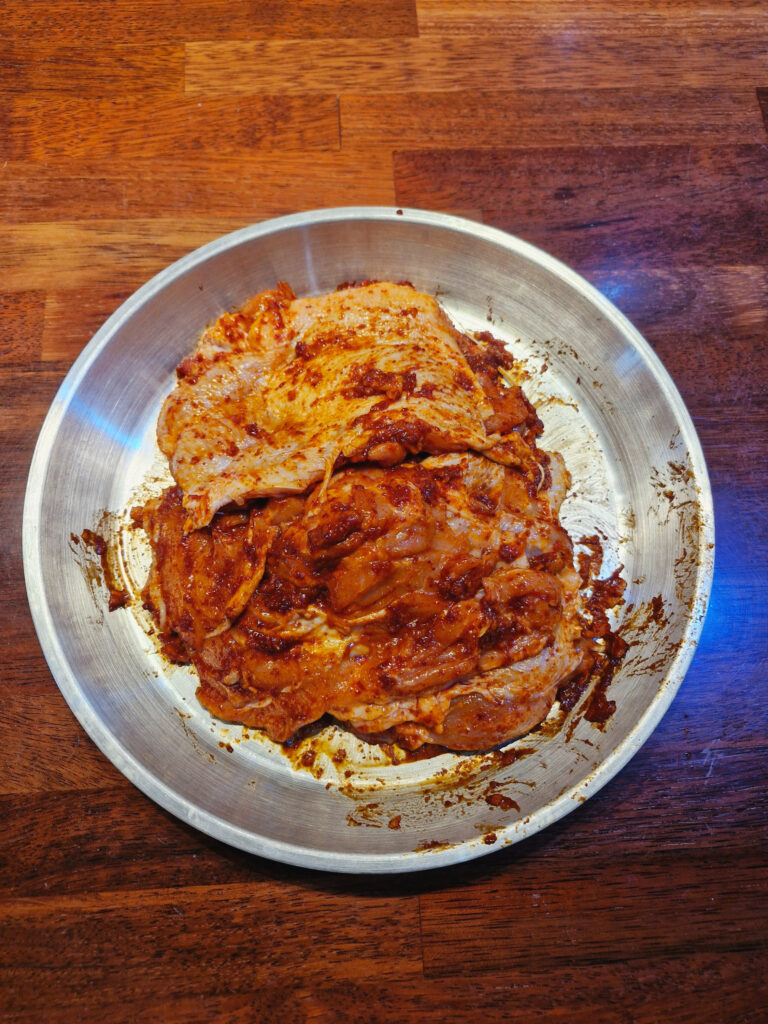
3.Master’s Secret Tip:”The Dry Rub Rule”
Before applying the marinade, wash the chicken and dry it completely with paper towels. If the meat is wet, the sauce won’t stick properly and will slide off during grilling. Drying the meat ensures the flavor penetrates deep into every bite.

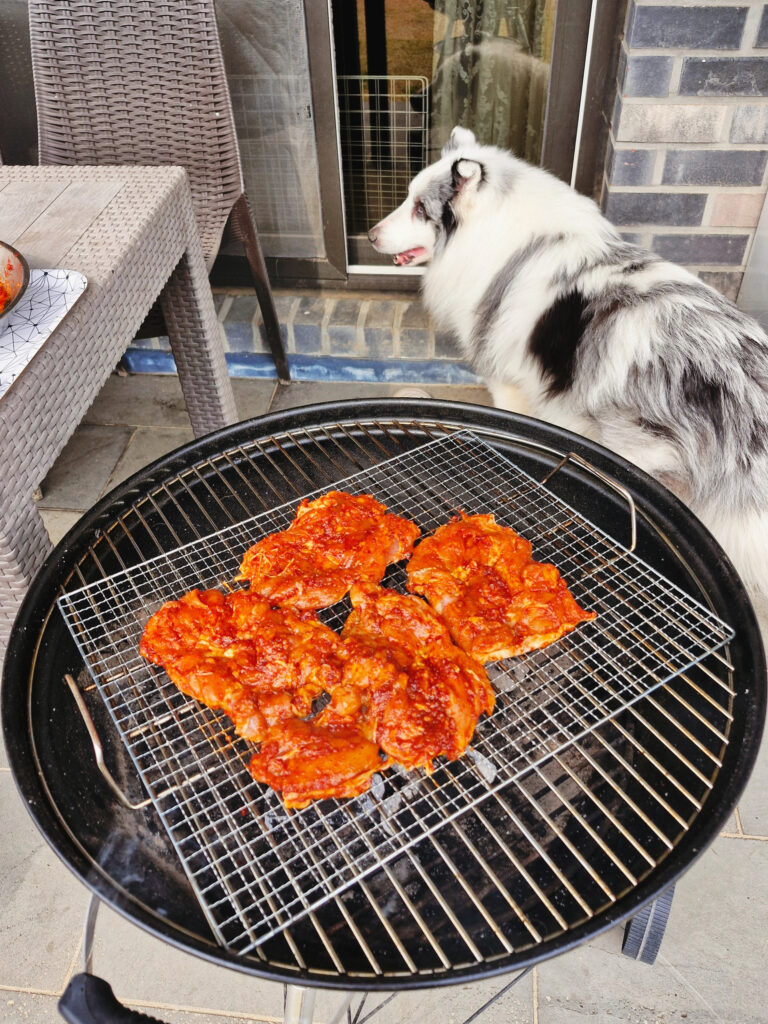
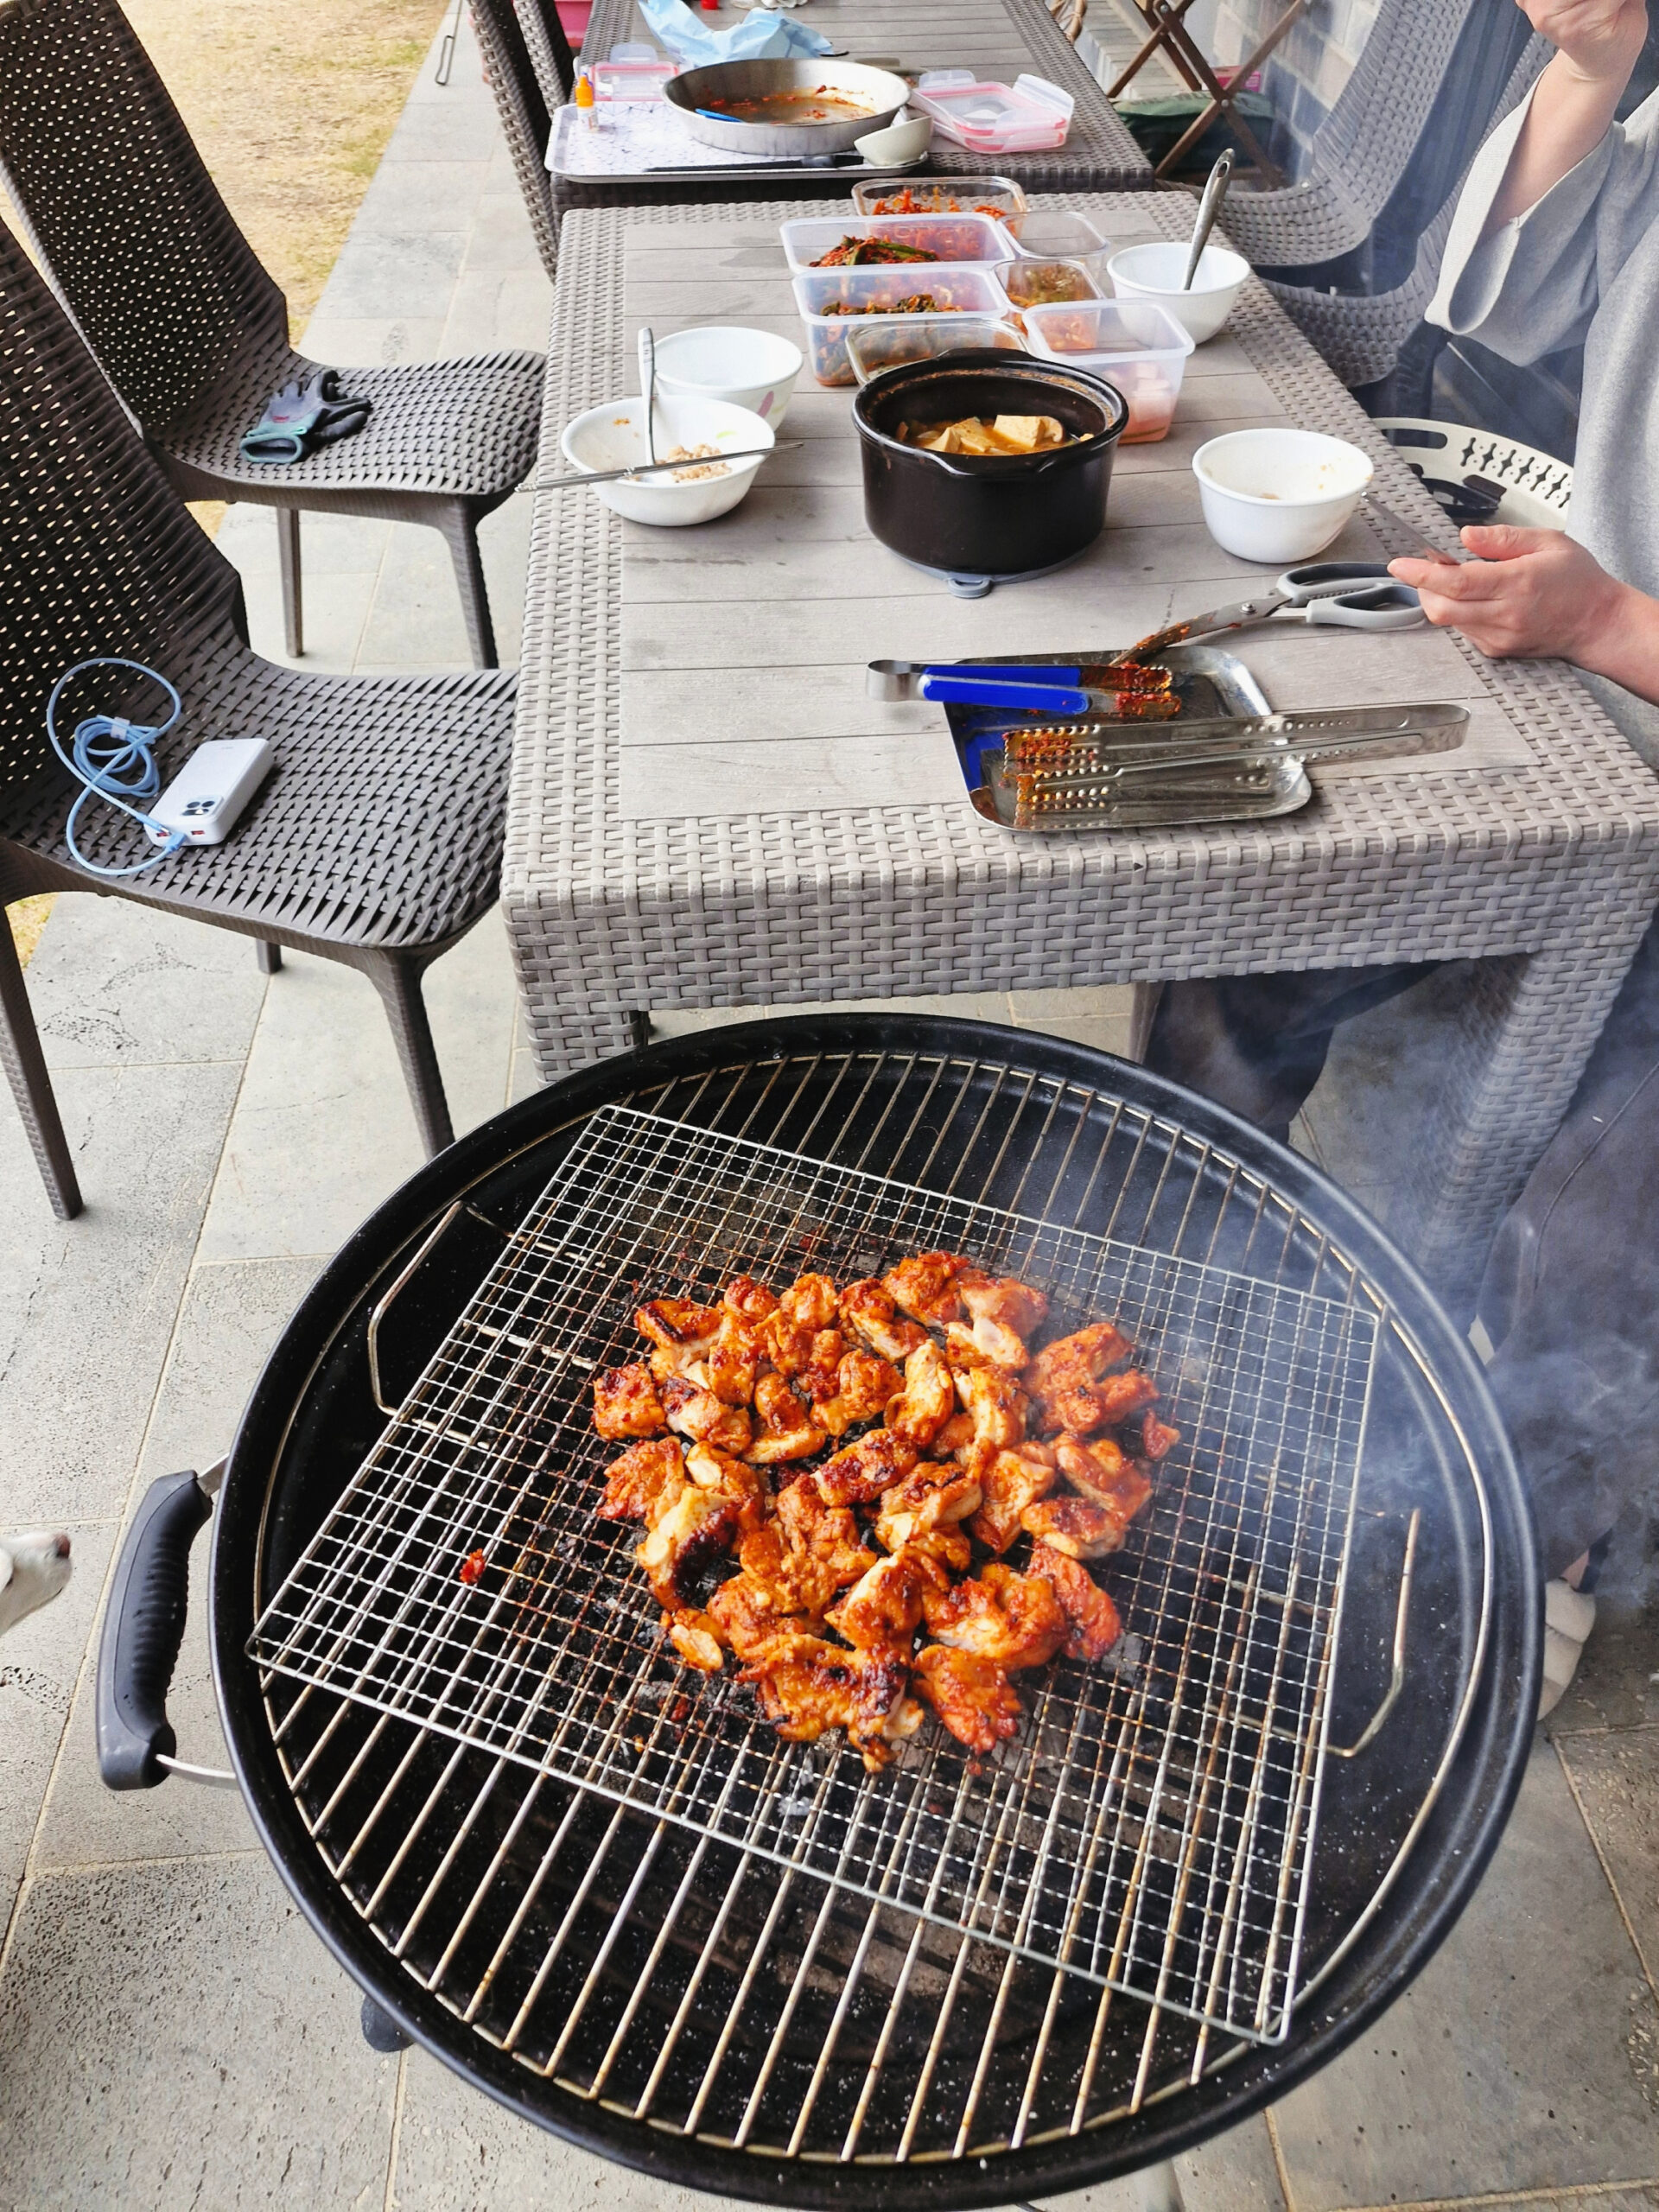
4.How to Grill Authentic Dak-galbi Recipe Like a Pro
Grilling marinated meat over charcoal is an art.
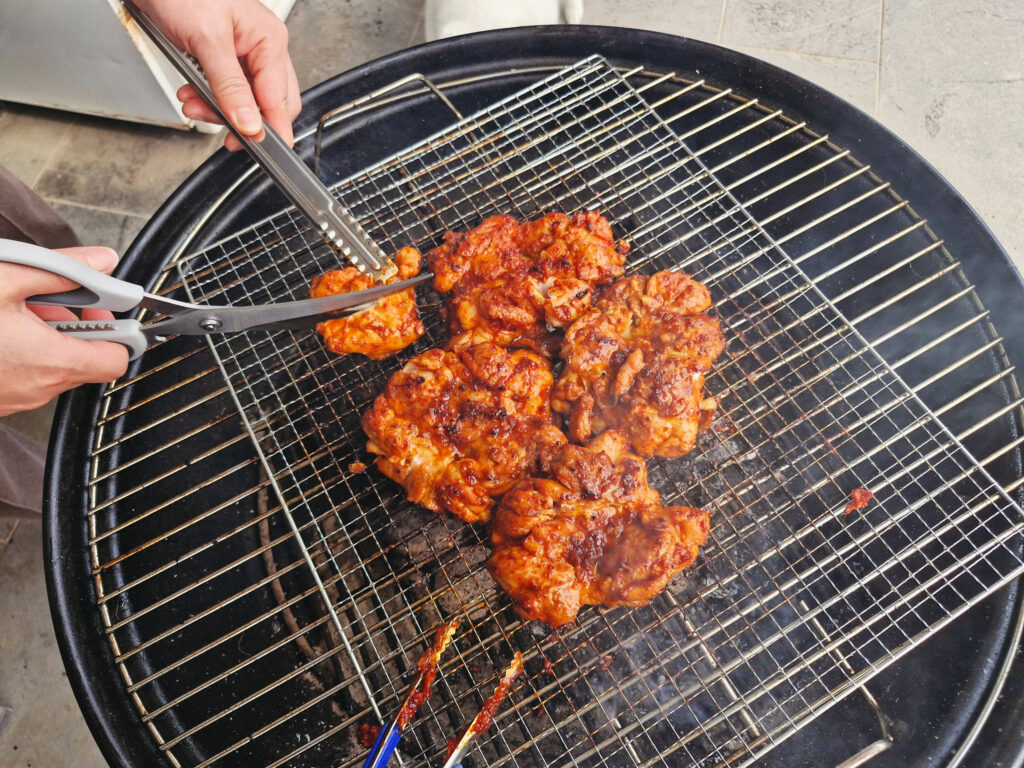

- Control the Heat: Start with medium-low heat. If the charcoal is too hot, the sugar in the sauce will burn before the meat is cooked.
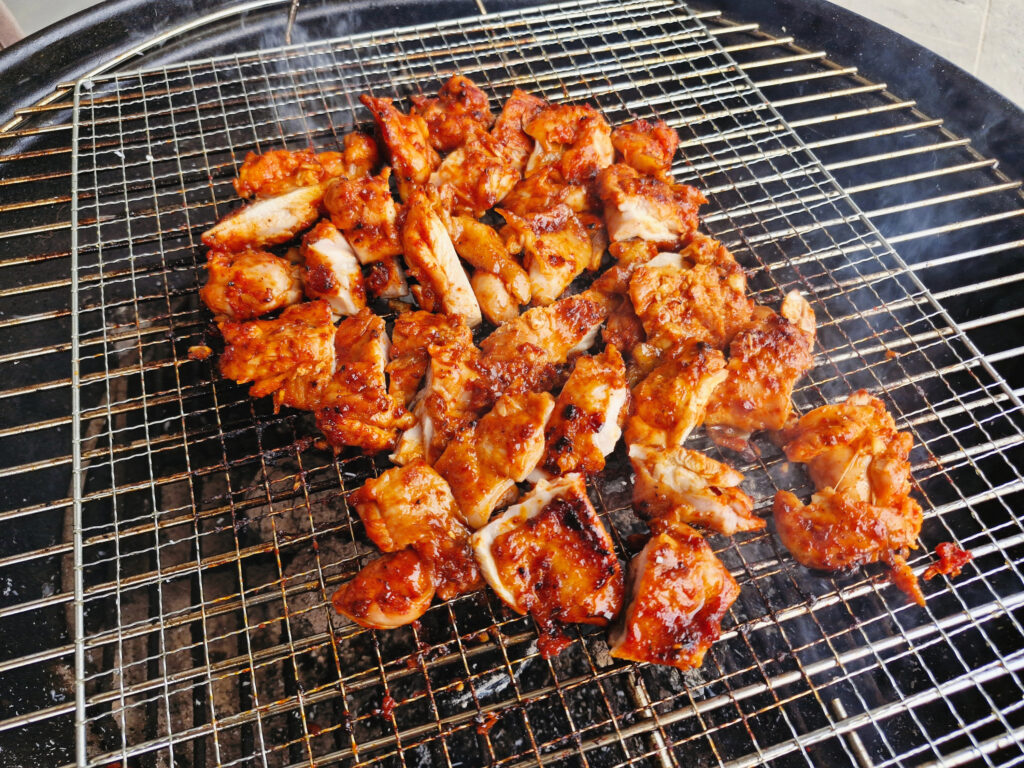
- The 15-Second Rule: To get that perfect char without burning, flip the chicken every 10 to 15 seconds. This keeps the juices inside while giving the outside a smoky, caramelized finish.
5.How to Serve and Enjoy Authentically
In Korea, we enjoy this with a bowl of warm Doenjang-jjigae (Soybean Paste Stew) and fresh Kimchi. Wrap a piece of chicken in a lettuce leaf with a bit of garlic for the ultimate “Ssam” experience. It is the perfect way to complete your Korean BBQ Chicken Recipe journey.
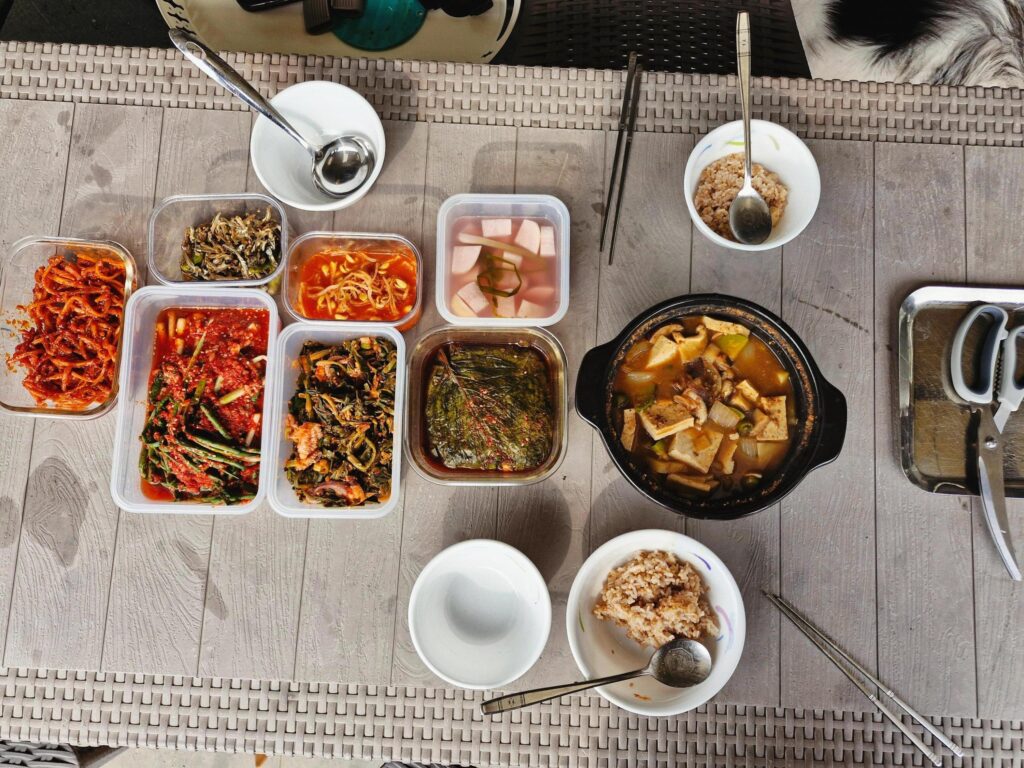
The ultimate K-BBQ table setting: A hearty Doenjang-jjigae and various authentic Banchan
Bringing the Taste of Korea Home
You don’t need to travel to Chuncheon to experience authentic Korean BBQ. In Korea, we enjoy Spicy Dak-galbi just as much as Samgyeopsal (Pork Belly). The recipe is simple, and the cooking process is easy, so if you love spicy food, you should definitely give it a try. I will continue to share more authentic recipes that Koreans truly love and enjoy every day. I hope this Korean BBQ Chicken Recipe brings the real taste of Korea to your home. Enjoy your meal!
🍶 The Universal Food: Perfect with Any Drink! One of the best things about Dak-galbi is that it pairs beautifully with almost any alcohol in the world. Whether it’s Korean Soju, a cold Beer, Chinese Baijiu, or even a bold Red Wine and smoky Whisky, this dish complements them all surprisingly well. The spicy and savory sauce is truly a “universal partner” for drinks.
The recipe is incredibly simple, so don’t hesitate! Give it a try this weekend, and experience a taste of Korea right in your own kitchen. You won’t regret it!
P.S. Love Outdoor Cooking?
While I grilled this chicken on a standard charcoal grill today, my true passion is building authentic outdoor ovens. If you’re interested in DIY outdoor projects, check out my other post where I built a [Professional Italian-style Pizza Oven] from scratch right here in my backyard!